Two-Factor Authentification
Two-factor authentication adds an extra layer of security and prevent access to your users’ session even if someone knows their password. A combination of two different factors is used to achieve a greater level of security:
1) something they know, a password
2) something they have, a device – such as a smartphone – with an authentication app installed
Each time a user sign in to its remote session it will need its password and a verification code available from its mobile phone. Once configured, the authenticator app will display a verification code to allow him or her to log in any time. It works even if its device is offline.
Two-factor authentication is available for Jet Clouding Web portal only. This authentication mode does not support login through Remote Desktop client. Since 2FA authentication only works with the Web portal, RDP connections are denied for 2FA enabled users.
Enable Two-factor Authentication
Perform the following steps to enable two-factor authentication for your Jet Clouding server or deployment. If your Jet Clouding deployment is configured to use multiple servers, perform this task on the Jet Clouding server exposed as the single point of entry for users or having the reverse proxy role.
1) Open the two-factor authentication administration application. The two-factor authentication status and the license status are displayed in a status bar at the center of the screen.
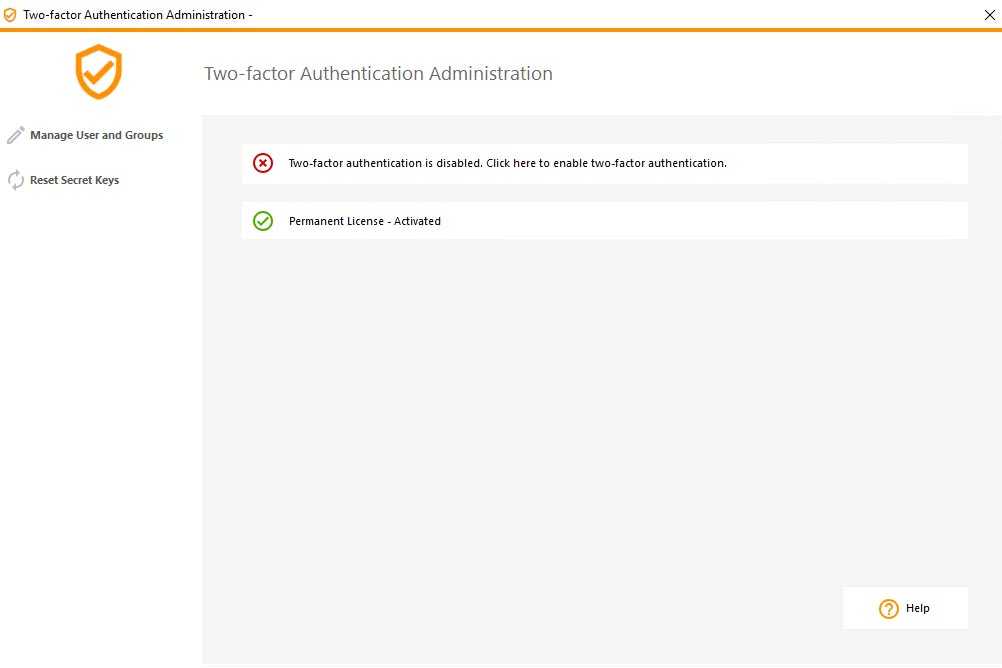
If two-factor authentication is disabled, the status bar will display a red cross:

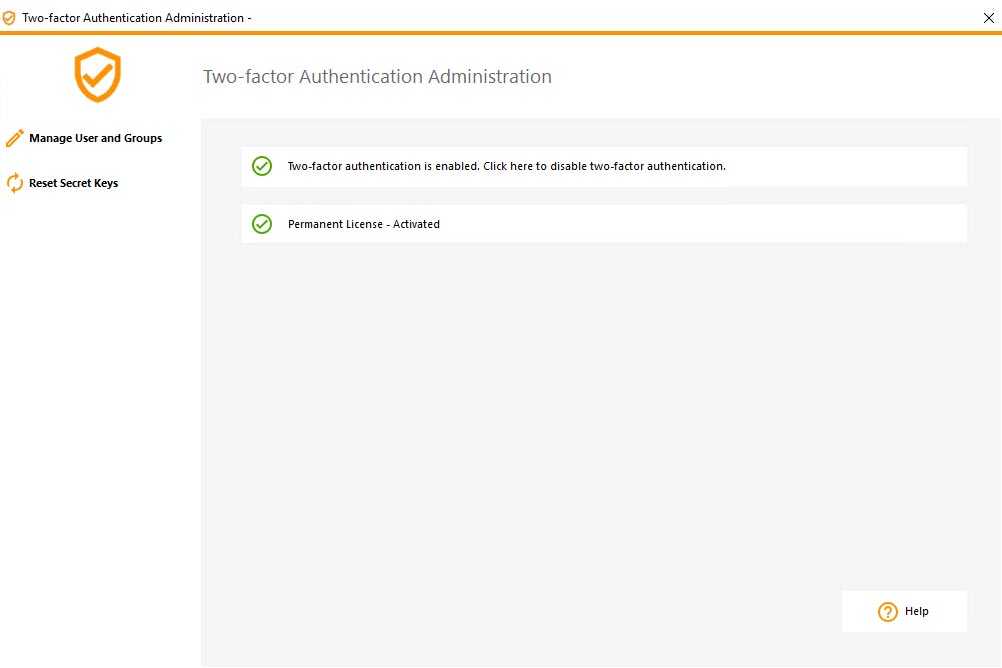
If two-factor authentication is enabled, the status bar will display a green check:
![]()
2) Click on the status bar to toggle the status of two-factor authentication.
Add Users and Groups
Once two-factor authentication is enabled, you can configure users for two-factor authentication.
1) From the two-factor authentication administration application, click on the Manage Users and Groups menu.
![]()
2) Then, click on Add to select users and/or groups of users. The Select Users or Groups box opens.
3) Add as many users and groups as required and then click OK. The users and groups are added to the list and enabled for two-factor authentication.
Remove Users and Groups
1) To disable two-factor authentication for a user or a group, from the two-factor authentication administration application, click on the Manage Users and Groups menu.
![]()
2) Select the user or the group and then click on Remove. A confirmation message is displayed.
3) Click Yes. The user or the group is removed from its list and won’t connect using two-factor authentication anymore.
Reset Users
In the event of the loss of the authenticating device for a user, or if the user needs to display the secret QR code again, you must reset the user authentication settings.
1) From the two-factor authentication administration application, click on the Reset Users menu.
2) Select one or multiple users and then click on Reset. A confirmation message is displayed.
![]()
3) Click Yes. The selected users will be presented a new QR code at the next login and will have to scan it in their device’s authentication app.
Enroll User for Two-factor Authentication
Once a user has been enabled for using two-factor authentication, an activation message will be displayed at his next successful logon from the Jet Clouding Web portal.
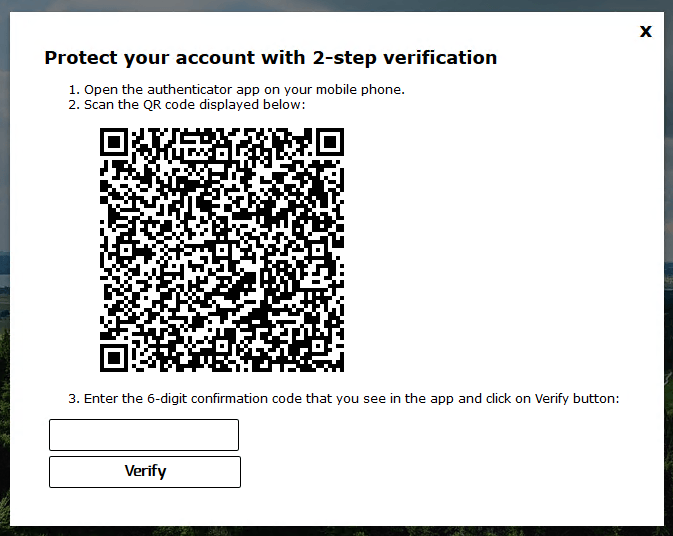
In order to complete the required steps, the user must install an authenticator app on a portable device, such as his smartphone.
You can use one of the following authenticator apps to proceed. These apps are available across a wide range of platforms:
– Authy
– Google Authenticator
– Microsoft Authenticator
Please use each app documentation for more details on how to proceed to add your Jet Clouding account.
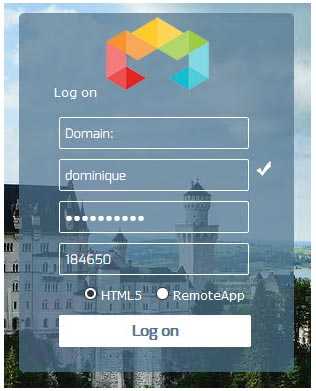
Login using Two-factor Authentication
Once a user has configured his Jet Clouding account in his authenticator app, he or she will be able to connect using its password and the code provided by its authenticator app.